I’m so excited to show you today’s refashion. I have been wanting to make these for the longest time, but I couldn’t because I didn’t have a serger…that is until now!
My parents got me a serger for Christmas and I can’t tell you how excited I was. I’ve been wanting one for forever!
I know you might be thinking, “Jen, Christmas was almost 2 months ago, why are you just now getting around to using your serger?”
Well, I’ve never used a serger before. I couldn’t just start using it without reading the entire manual and watching all of the informative dvd’s that came with it (twice).
I also had to purchase thread, and practice multiple times on scrap fabric before I felt comfortable enough to be able to use it on a real project.
To be quite honest, I also put off using it because I was a bit intimidated, but once I finally forced myself to try it out, I realized how silly I was being.
This machine is the bomb!

Isn’t she pretty?
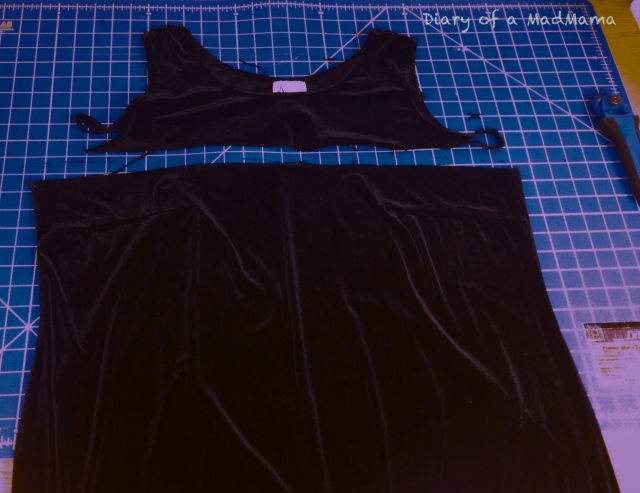
The first project I made with it was 2 pair of leggings for my daughter.
That was a great first project because the stitches were hidden on the inside of the leggings, so it made it easier to get used to the machine without worrying that my stitches would show (They got a bit wonky here and there while I was warming up to it).
Once I finished sewing those I was confident enough to work on something where the stitches could be seen.
Continue reading →